
Mini Album

Today I want to show you a very easy and cute mini album, I saw one like this in You tube some time ago, but I really don't remember the name of the person who published it. Any way, here is a little tutorial.
First I made some mini file folders whit this Tim Holtz die, but if you don't have it you can make yours with the envelope board punch or even just folding in the middle a piece of paper that measures 4 1/4' x 5 1/2"
Hoy quiero mostrarles este sencillo y tierno album. Vi uno parecido en You tube hace algun tiempo pero la verdad no recuerdo el nombre de la persona que lo publico, pero aqui les dejo un pequeño tutorial.
Primero hice algunos mini folders usando este troquel de Tim Holtz, pero si no lo tienes puedes usar el tablero para hacer sobres o simplemente dobla por la mitad una pieza de papel dque mida 10.5 cm x 14 cm

For this album I will use 3 mini folders
Para este mini album usare 3 mini folders

For the binding and the decoration I use 5 pieces of paper that measures 5" x 7" but you may need to adjust yours if you make the mini folders in a different way.
Para la union y la decoracion de las paginas, use 5 piezas de papel que miden 12.5 cm x 18 cm. pero tu tendras que ajustar estas medidas si haces los mini folders de una forma diferente a como los hice yo.

Score and fold the paper.
Marca y dobla el papel.

To make the binding, glue the paper in the way that I show you in the picture below, one half is going to be attached to the back of the first folder and the other to the front of the next one.
Para hacer la encuadernacion, pega el papel como se muestra en la foto de abajo. pegando una mitad del papel en la parte de atras del primer folder y la otra a la parte delantera del siguiente.

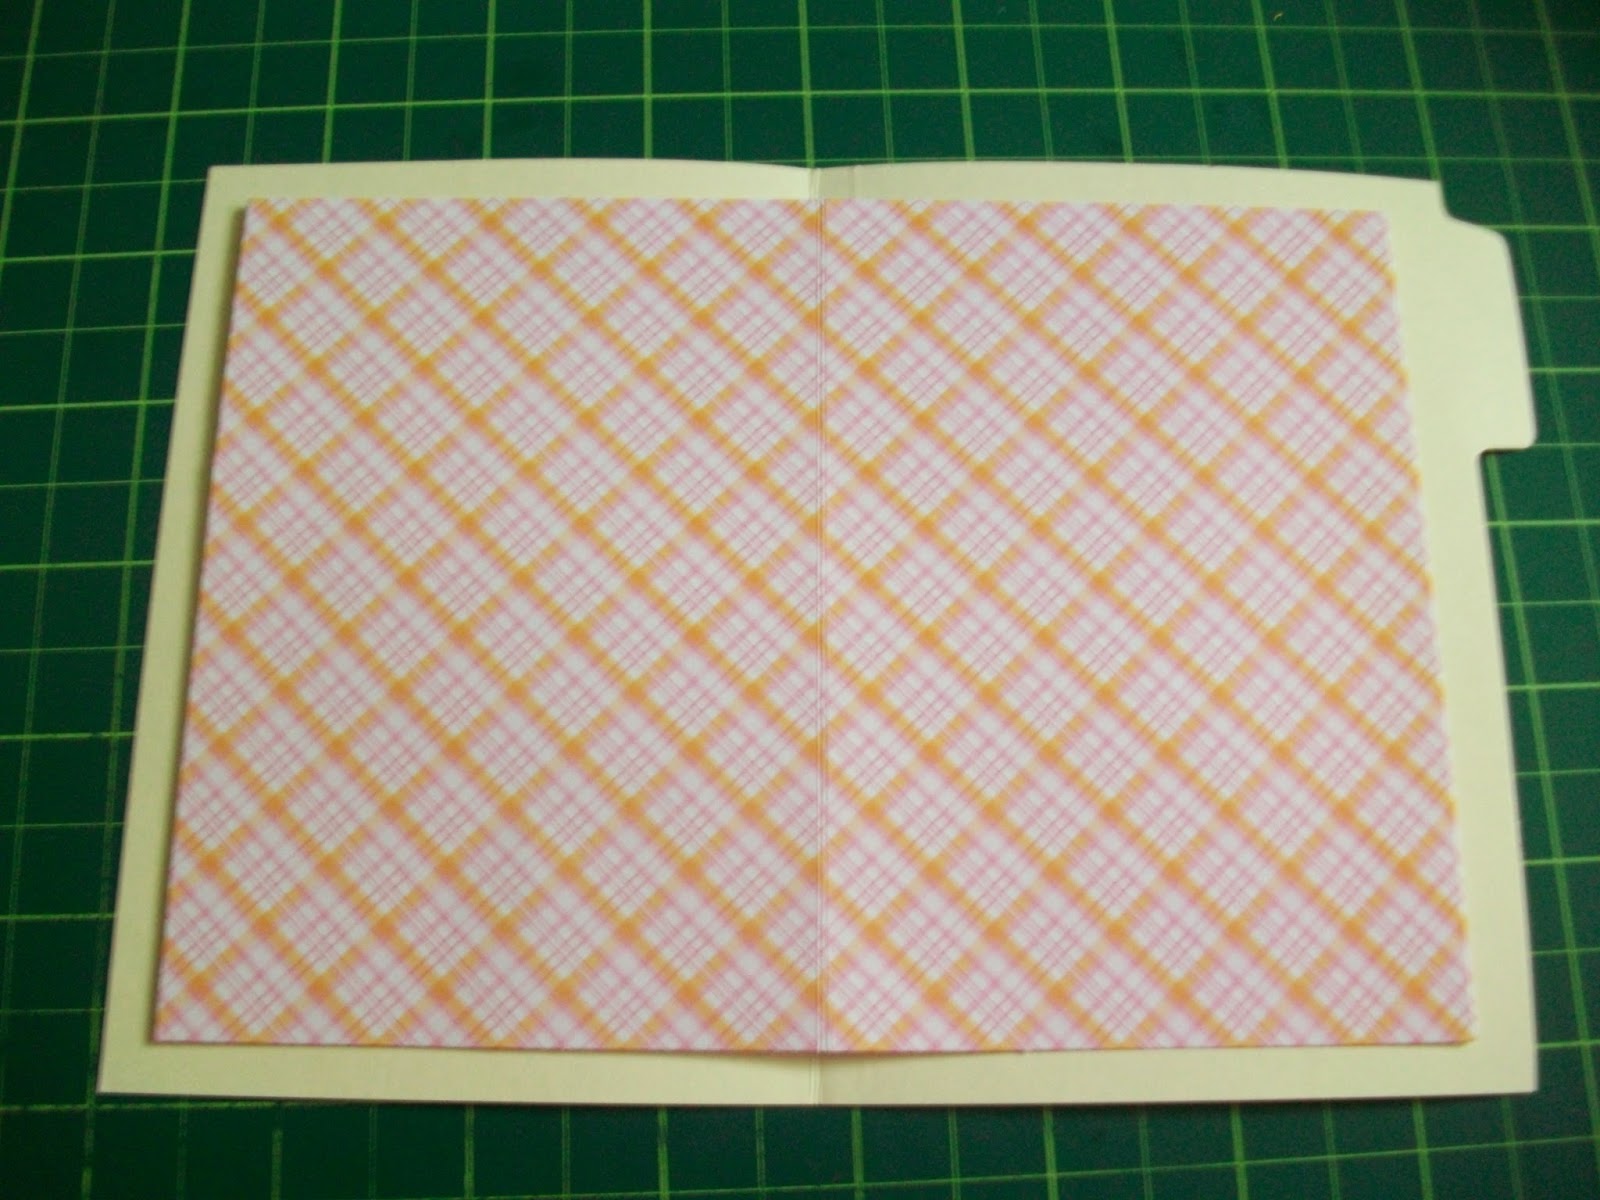
To decorate the pages, just glue the paper in the center of the file folder.
Para decorar las paginas, solo pega el papel centrandolo en el folder.
For the front and the back, cut the left over piece of paper in half and glue it.
Para la parte de adelante y la de atras. corta la pieza que te sobro por la mitad y pegala.

Now just decorate the way you want.
Ahora solo decora como mas te guste.
You can see the way I finished it in English.
Puedes ver la forma en que lo termine en Español.
Have a crafty day!
Que tengas un dia lleno de creatividad!
Te ha quedado precioso!!!!,me encanta!!!!
ReplyDeleteMuchas gracias Isabel.
DeleteThis comment has been removed by the author.
ReplyDeleteJijiji .. Normita que simpático mini! ..me encanta!!
ReplyDeleteGracias Susy, es para una niña que se esta enamorando del scrapbooking.
Delete